Smart Lock With Face Recognition – The Function and Setup-
Instruction
Hi, I introduce a smart lock with face recognition, the function, setup, how to make and velidation method. Let’s try!
Various articles explain this topic.
Smart Lock With Face Recognition – The Function and Setup –
Smart Lock With Face Recognition – How to make –
Smart Lock With Face Recognition – Verification –
What is Smart Lock With Face Recognition?
This system tell hosts from others and executes lock and release just standing in front of cameras. Talking of smart locks, most people imagine locking and releasing using smartphones, but this system easily make it with hands-free. As face recognition, I use “Resnet" which is consist of hundreds of multilayered neural networks and it can distinguish individuals. And this system uses “Jetson nano" and the GPU can calculates neural networks rapidly.
The Functions
- Automatic release by face recognition
- Lock and release using smartphones
- Display of state of lock or release on smartphones
System Definition
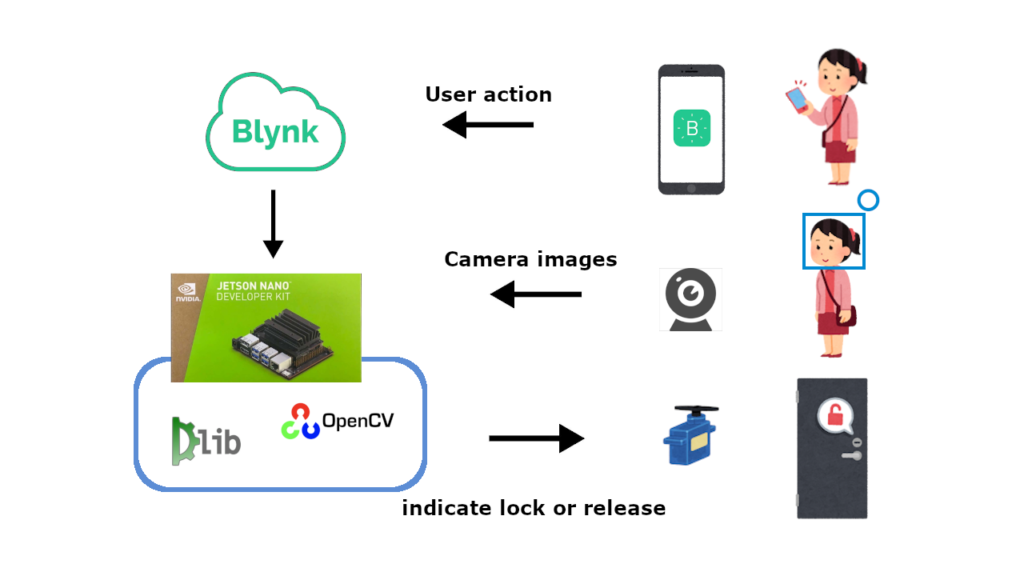
This system is consist of a camera for capturing faces, a smartphone for manual operations and a Jetson nano for face recognition and drive a motor.
Preparation
Jetson nano
3D Printer
Actuator
Camera

Setup
Jetson nano
In setup of Jetson Nano, I used Jetcard. This image is official for Nvidia and convenient about pre-install tensorflow-gpu, pytorch or jupyter notebook.

Install necessary softwares
cmake
cmake can build projects of C, C++, CUDA, Fortran, assembler without dependence of the compiler. You had better build cmake from source because cmake doesn’t work well installed using apt.
# remove pre-installed cmake
sudo apt -y remove cmake

# install the curl
sudo apt-get -y install libcurl4-openssl-dev

# get a source and install it
git clone https://github.com/Kitware/CMake.git
cd CMake
./bootstrap --system-curl
make -j4
sudo make install

# reboot
sudo reboot

# check cmake version
cmake --version
You succeed to install cmake when displaying the version.
OpenCV
Before face recognition, the images need to be pre-processed, resizing or grayscaling. So we install OpenCV but it can’t be installed in Jetson nano with pip. So you install OpenCV with customized script.
# allocate swap area to avoid from being short of memory
fallocate -l 4G swapfile
chmod 600 swapfile
mkswap swapfile
sudo swapon swapfile
swapon -s

# execute a script
mkdir opencv
sh install_opencv4.1.0_Nano.sh opencv

# check the installation
python3
import cv2
“install_opencv4.1.0_Nano.sh" is this.
#!/bin/bash
#
# Copyright (c) 2018, NVIDIA CORPORATION.  All rights reserved.
#
# NVIDIA Corporation and its licensors retain all intellectual property
# and proprietary rights in and to this software, related documentation
# and any modifications thereto.  Any use, reproduction, disclosure or
# distribution of this software and related documentation without an express
# license agreement from NVIDIA Corporation is strictly prohibited.
#

if [ "$#" -ne 1 ]; then
    echo "Usage: $0 <Install Folder>"
    exit
fi
folder="$1"
user="nvidia"
passwd="nvidia"

echo "** Install requirement"
sudo apt-get update
sudo apt-get install -y build-essential cmake git libgtk2.0-dev pkg-config libavcodec-dev libavformat-dev libswscale-dev
sudo apt-get install -y libgstreamer1.0-dev libgstreamer-plugins-base1.0-dev
sudo apt-get install -y python2.7-dev python3.6-dev python-dev python-numpy python3-numpy
sudo apt-get install -y libtbb2 libtbb-dev libjpeg-dev libpng-dev libtiff-dev libjasper-dev libdc1394-22-dev
sudo apt-get install -y libv4l-dev v4l-utils qv4l2 v4l2ucp
sudo apt-get install -y curl
sudo apt-get update

echo "** Download opencv-4.1.0"
cd $folder
curl -L https://github.com/opencv/opencv/archive/4.1.0.zip -o opencv-4.1.0.zip
curl -L https://github.com/opencv/opencv_contrib/archive/4.1.0.zip -o opencv_contrib-4.1.0.zip
unzip opencv-4.1.0.zip
unzip opencv_contrib-4.1.0.zip
cd opencv-4.1.0/

echo "** Building..."
mkdir release
cd release/
cmake -D WITH_CUDA=ON -D CUDA_ARCH_BIN="5.3" -D CUDA_ARCH_PTX="" -D OPENCV_EXTRA_MODULES_PATH=../../opencv_contrib-4.1.0/modules -D WITH_GSTREAMER=ON -D WITH_LIBV4L=ON -D BUILD_opencv_python2=ON -D BUILD_opencv_python3=ON -D BUILD_TESTS=OFF -D BUILD_PERF_TESTS=OFF -D BUILD_EXAMPLES=OFF -D CMAKE_BUILD_TYPE=RELEASE -D CMAKE_INSTALL_PREFIX=/usr/local ..

make -j3
sudo make install
sudo apt-get install -y python-opencv python3-opencv

echo "** Install opencv-4.1.0 successfully"
echo "** Bye :)"
The installation of OpenCV completes if you are able to import cv2.
dlib
Dlib enable you to make face recognition unless you code complex program. Now, Nvidia CUDA libraries have a bug, you need to edit sources and install dlib.
# get source of dlib
wget http://dlib.net/files/dlib-19.17.tar.bz2
tar jxvf dlib-19.17.tar.bz2
cd dlib-19.17

# edit source for avoidance of a bug
sudo gedit dlib/cuda/cudnn_dlibapi.cpp
After searching for “forward_algo = forward_best_algo;", comment out it.
//forward_algo = forward_best_algo;
After saving that, execute below.
sudo python3 setup.py install
You will install dlib correctly.
Face recognition
You need to install “face recognition" based on dlib.
In github of “face_recognition", examples of face recognize Obama ex-president. Connect USB camera with Jetson nano, execute examples and if you succeed to recognize him, you will install face recognition.
# install face_recognition
sudo pip3 install face_recognition

# execute a example
git clone https://github.com/ageitgey/face_recognition.git
python3 ./face_recognition/examples/facerec_from_webcam_faster.py

Jetson.GPIO
Jetson.GPIO is a package for Jetson nano to drive motors easily. Wire motors with Jetson Nano, execute examples and if motors drive, you succeed to install it. I refer below.
# install a package
sudo pip install Jetson.GPIO

# setting
sudo groupadd -f -r gpio
sudo usermod -a -G gpio your_user_name

sudo cp venv/lib/pythonNN/site-packages/Jetson/GPIO/99-gpio.rules /etc/udev/rules.d/

sudo udevadm control --reload-rules && sudo udevadm trigger

# edit bashrc
sudo gedit ~/.bashrc
Add some sentences
# assign PWM to 33pin
sudo busybox devmem 0x70003248 32 0x46
sudo busybox devmem 0x6000d100 32 0x00

# reboot
sudo reboot

# execute examples
python3 ./jetson-gpio/samples/simple_pwm.py

Blynk
Blynk is a library to get easy access to IOT devices like Jetson nano or Raspberrypi from smartphones. This app feature is easy to make beautiful UI.
Preparation in Smartphones
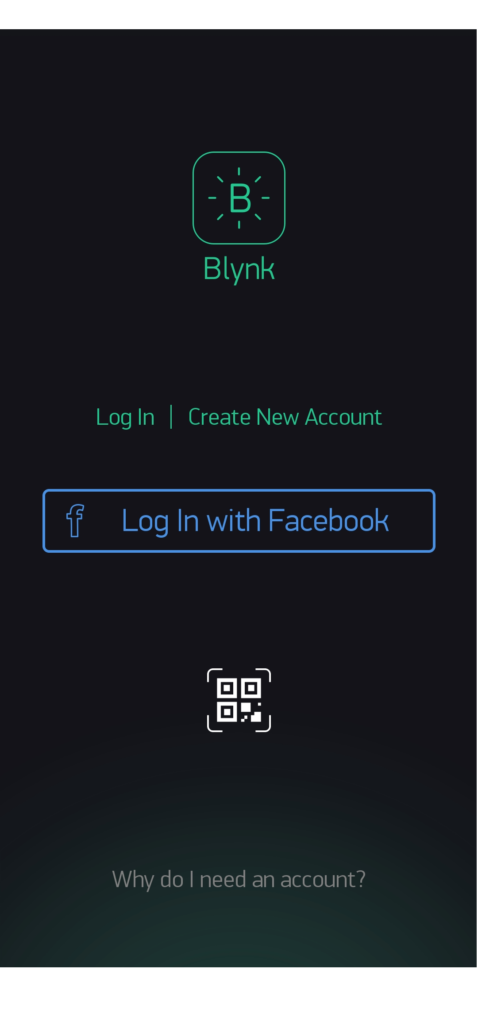
Install Blynk app.


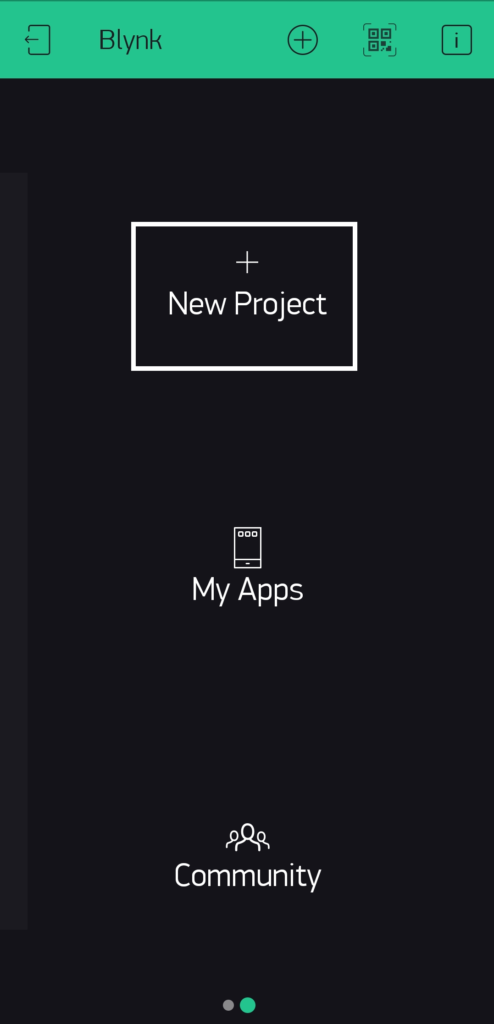
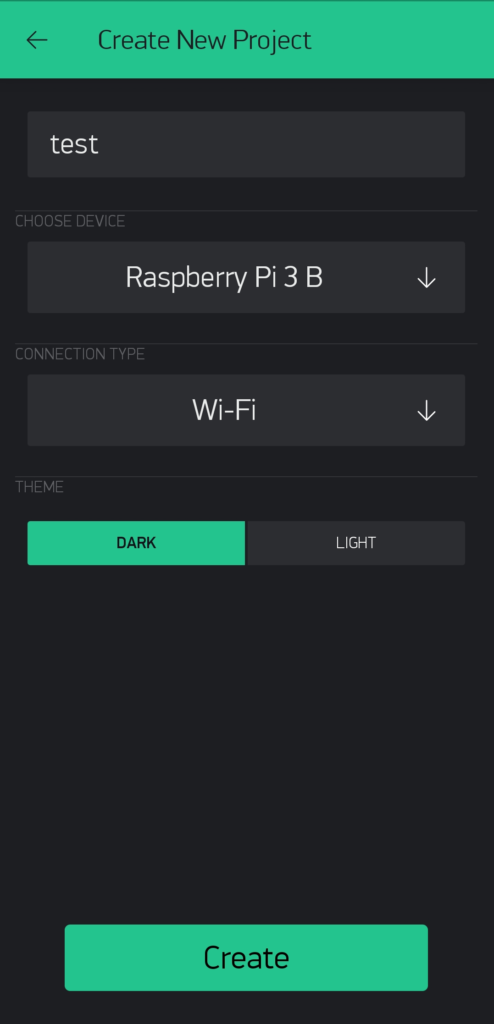
At first , resister your information, choose New Project and set like below.
After choosing Create, AuthToken is sent to your E-mail address.
Preparation in Jetson nano
# Install a package
sudo pip install blynklib

# get a examples
git clone https://github.com/blynkkk/lib-python.git

# change AuthToken to yours
gedit ./lib-python/examples/03_connect_disconnect.py
Change YourAuthToken of “BLYNK_AUTH = 'YourAuthToken'" to your token which has been sent to your E-mail.
# execute samples
python3 ./lib-python/examples/03_connect_disconnect.py
This example connects and disconnects with Blynk server repeatedly. You will succeed to setup Blynk when “Connected" and “Disconnected" are displayed repeatedly in smartphones.

After getting setup completed, let’s make smart locks next.
Various articles explain this topic
Smart Lock With Face Recognition – The Function and Setup – now
Smart Lock With Face Recognition – How to make – next
Smart Lock With Face Recognition – Verification –